Mail Merge Labels in Microsoft Word
One of the most common mistakes people make is creating labels directly in a label format in Word. Instead, you should set up a data source, either in a Word table, an Excel workbook, or an Access database. Once you have your data in this format, you can use the data for other purposes, and to create member directories, and other formats besides just labels. Be smart and create your database first. Then do a mail merge to create the labels.
Is it too late? Go to Graham Mayor's site to learn how to get your labels into a database format.
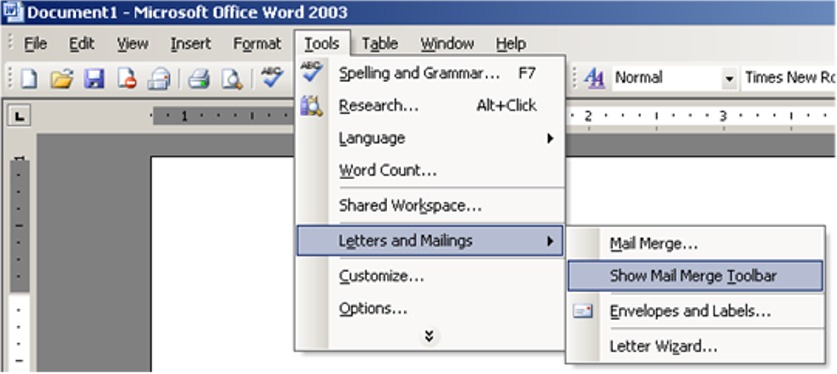
Turn on the Mail Merge Toolbar by going to Tools Letters & Mailings Show Mail Merge Toolbar.
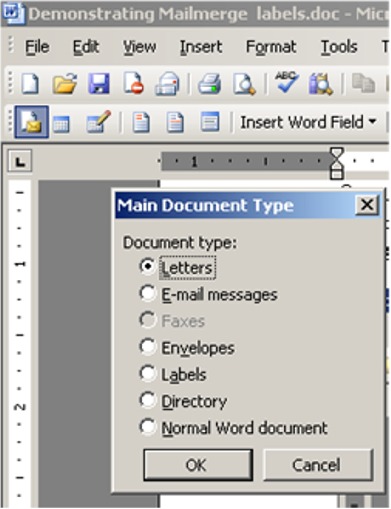
Click on Main Document Setup on the Mail merge toolbar. Select Labels as the document type. Hit OK.
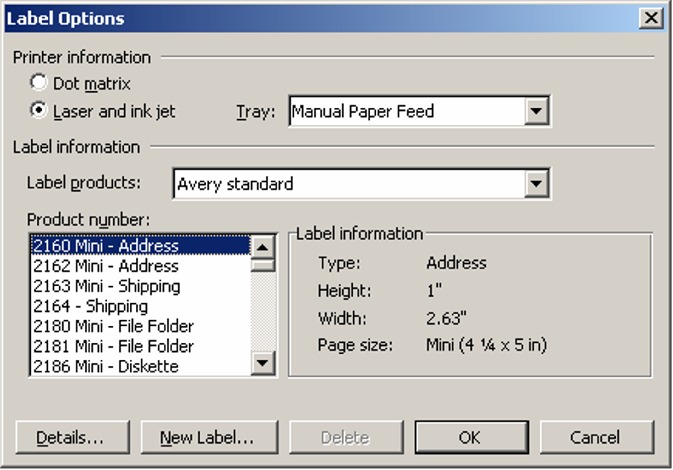
A new POP up window opens. Choose the type of labels you're printing and hit OK.
Now we need to add the addresses stored in an Excel file.
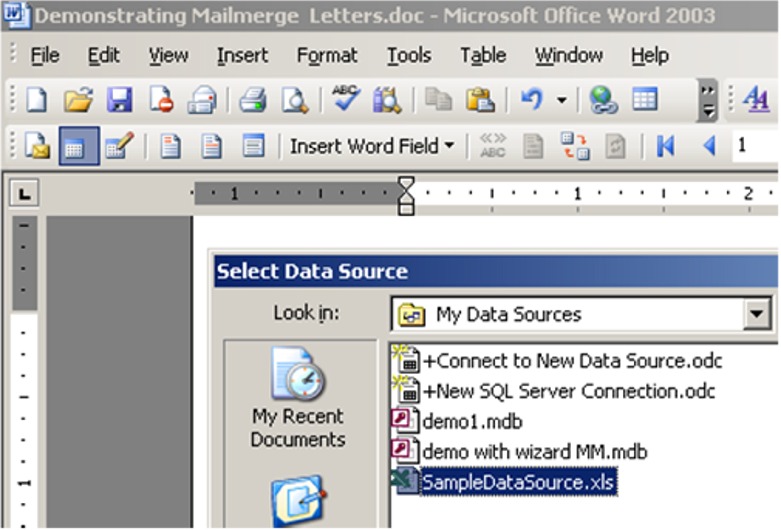
Hit the Open Data Source button on the Mail Merge toolbar.

A new window opens up asking you to select the file. Select the source of the where you have entered the addresses. Select your file and hit OK.
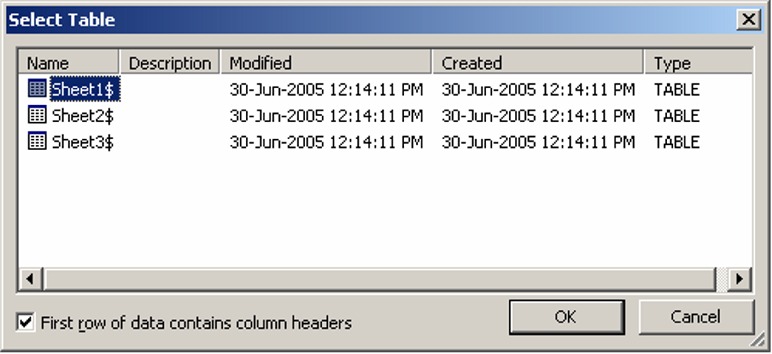
Another window Pops up and we need to select the Sheet of the Excel file where the address details are entered. In this case the data is in Sheet 1.
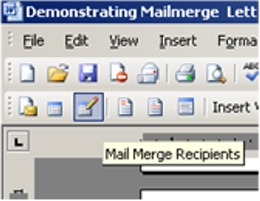
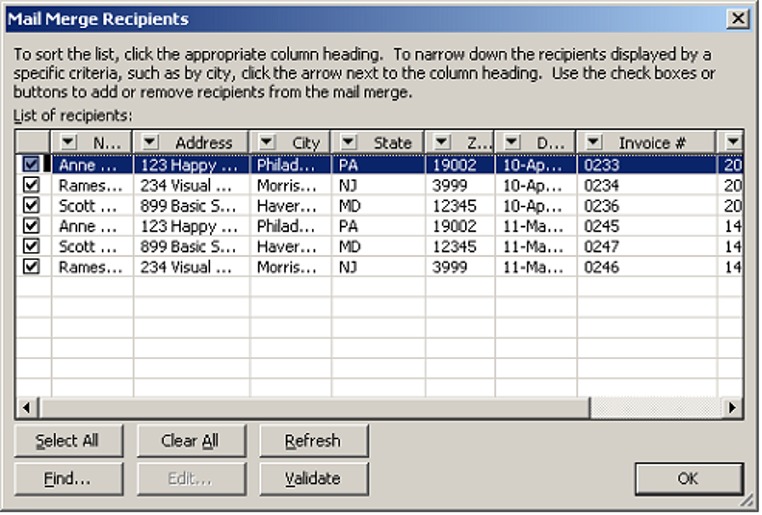
Now we have selected the entire list. You can see the list and select all the addresses or a few. Just click on the Mail Merge Recipient button.
You can check/uncheck recipients for whom to print labels.
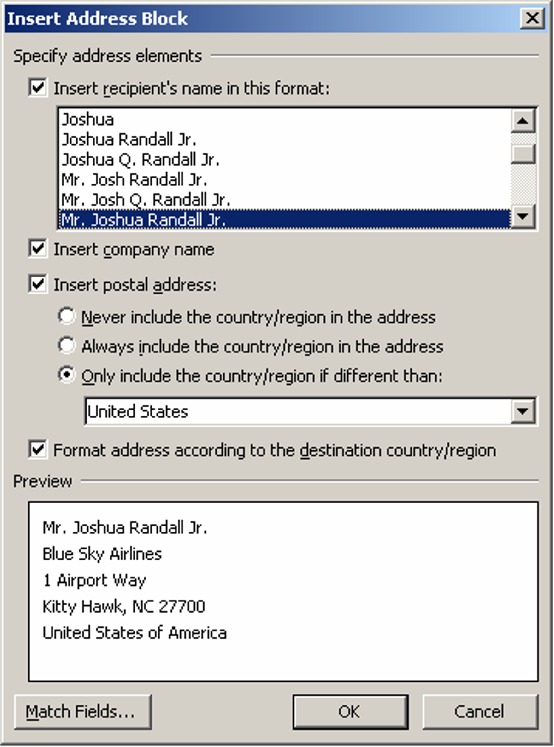
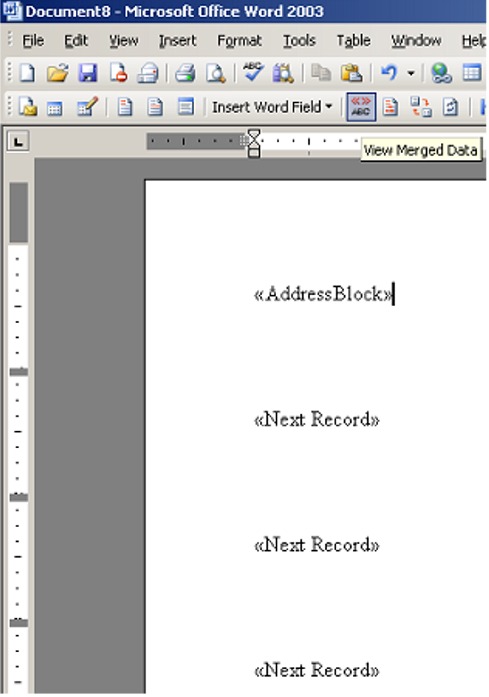
Click on Insert Address Block. You are offered many options. Select the options you want. Press OK.
This is what the document looks like when you see the mail merge fields being placed. Click on the View Merged Data button to see some sample data.
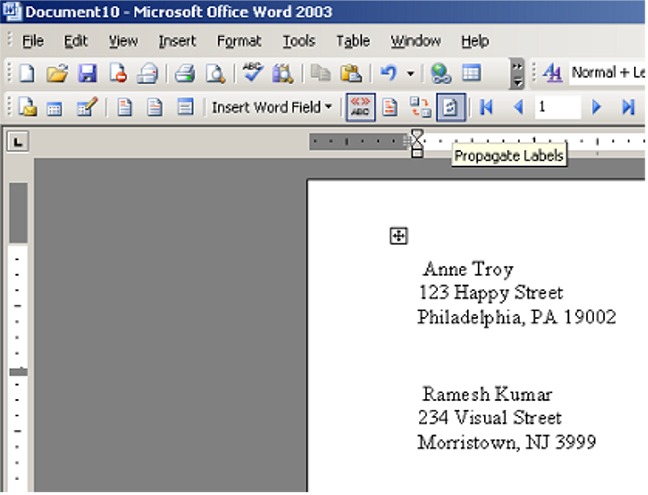
Click on the Propagate Labels button.
Hit the Merge to New Document or Merge to Printer buttons on the Mail Merge toolbar to create your labels.